

Samsung Galaxy S25 repair
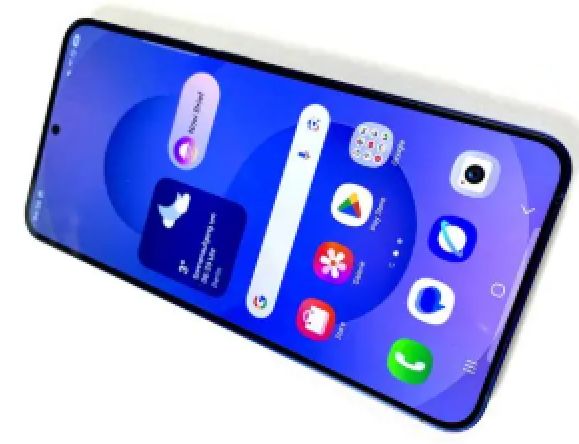
Samsung Galaxy S25 repair
Samsung Galaxy S25 repair
Faulty microphone, videos with unclear audio or poor-quality voice messages ?
At LUXJIM, we service the Samsung Galaxy S25 (SM-S931B) by carrying out a full charging and audio diagnostic test, followed by a professional replacement of the charging connector (CDC), including the microphone, to restore clear sound quality during calls, voice recordings and video calls.
Common symptoms
If your videos have muffled sound, your voicemails are quiet, or people can't hear you clearly, the main microphone or the charging module may be the problem. On this model, audio issues and charging problems can be related to the same component.
- Low or choppy audio on WhatsApp, Messenger, or voice dictation.
- Audio is distorted or cut out during video recording.
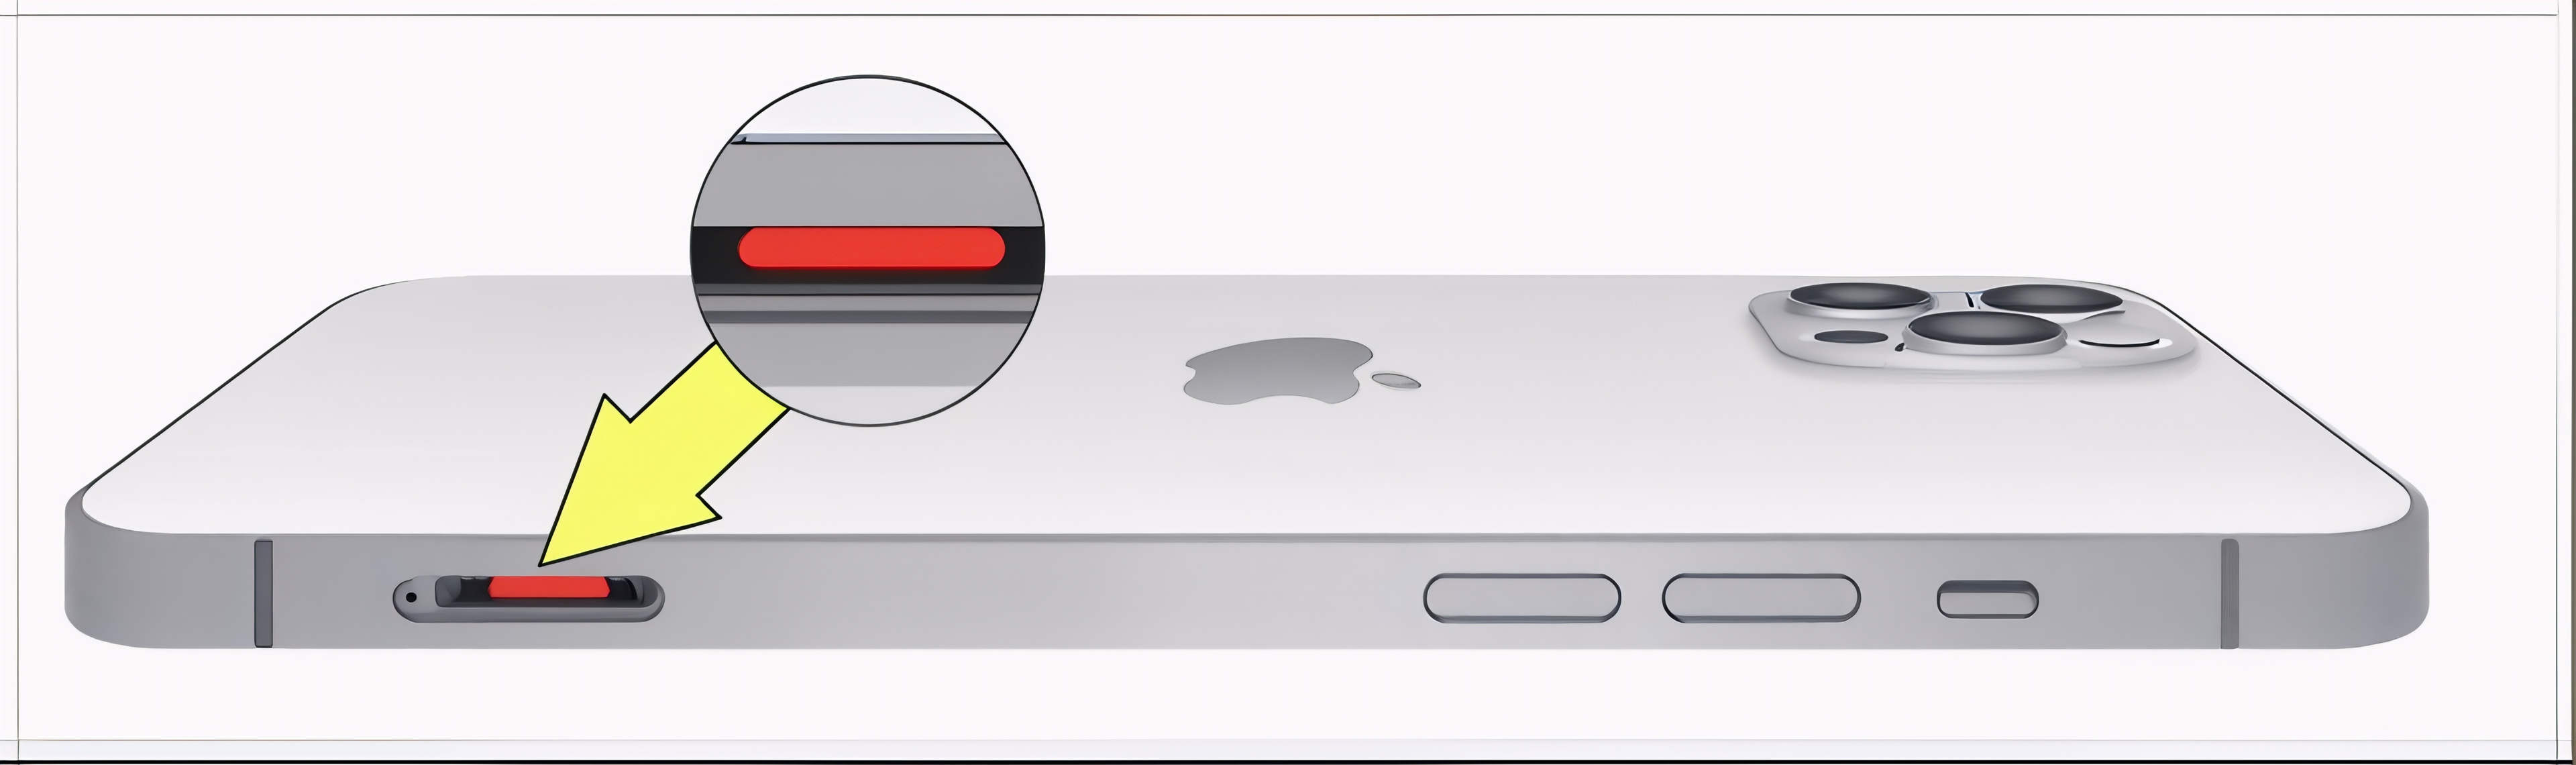
- Unstable charging, worn USB-C connector or poor contact.

Comprehensive diagnosis: charging + audio
Before any repair, we test the charging, the USB-C port, power stability, and recording quality. This step helps rule out a software issue and confirm whether the charging connector (CDC), which includes the microphone, needs to be replaced.
- Load test and connector inspection.
- Testing voice messages, video and calls.
- Overall audio functionality check before disassembly.
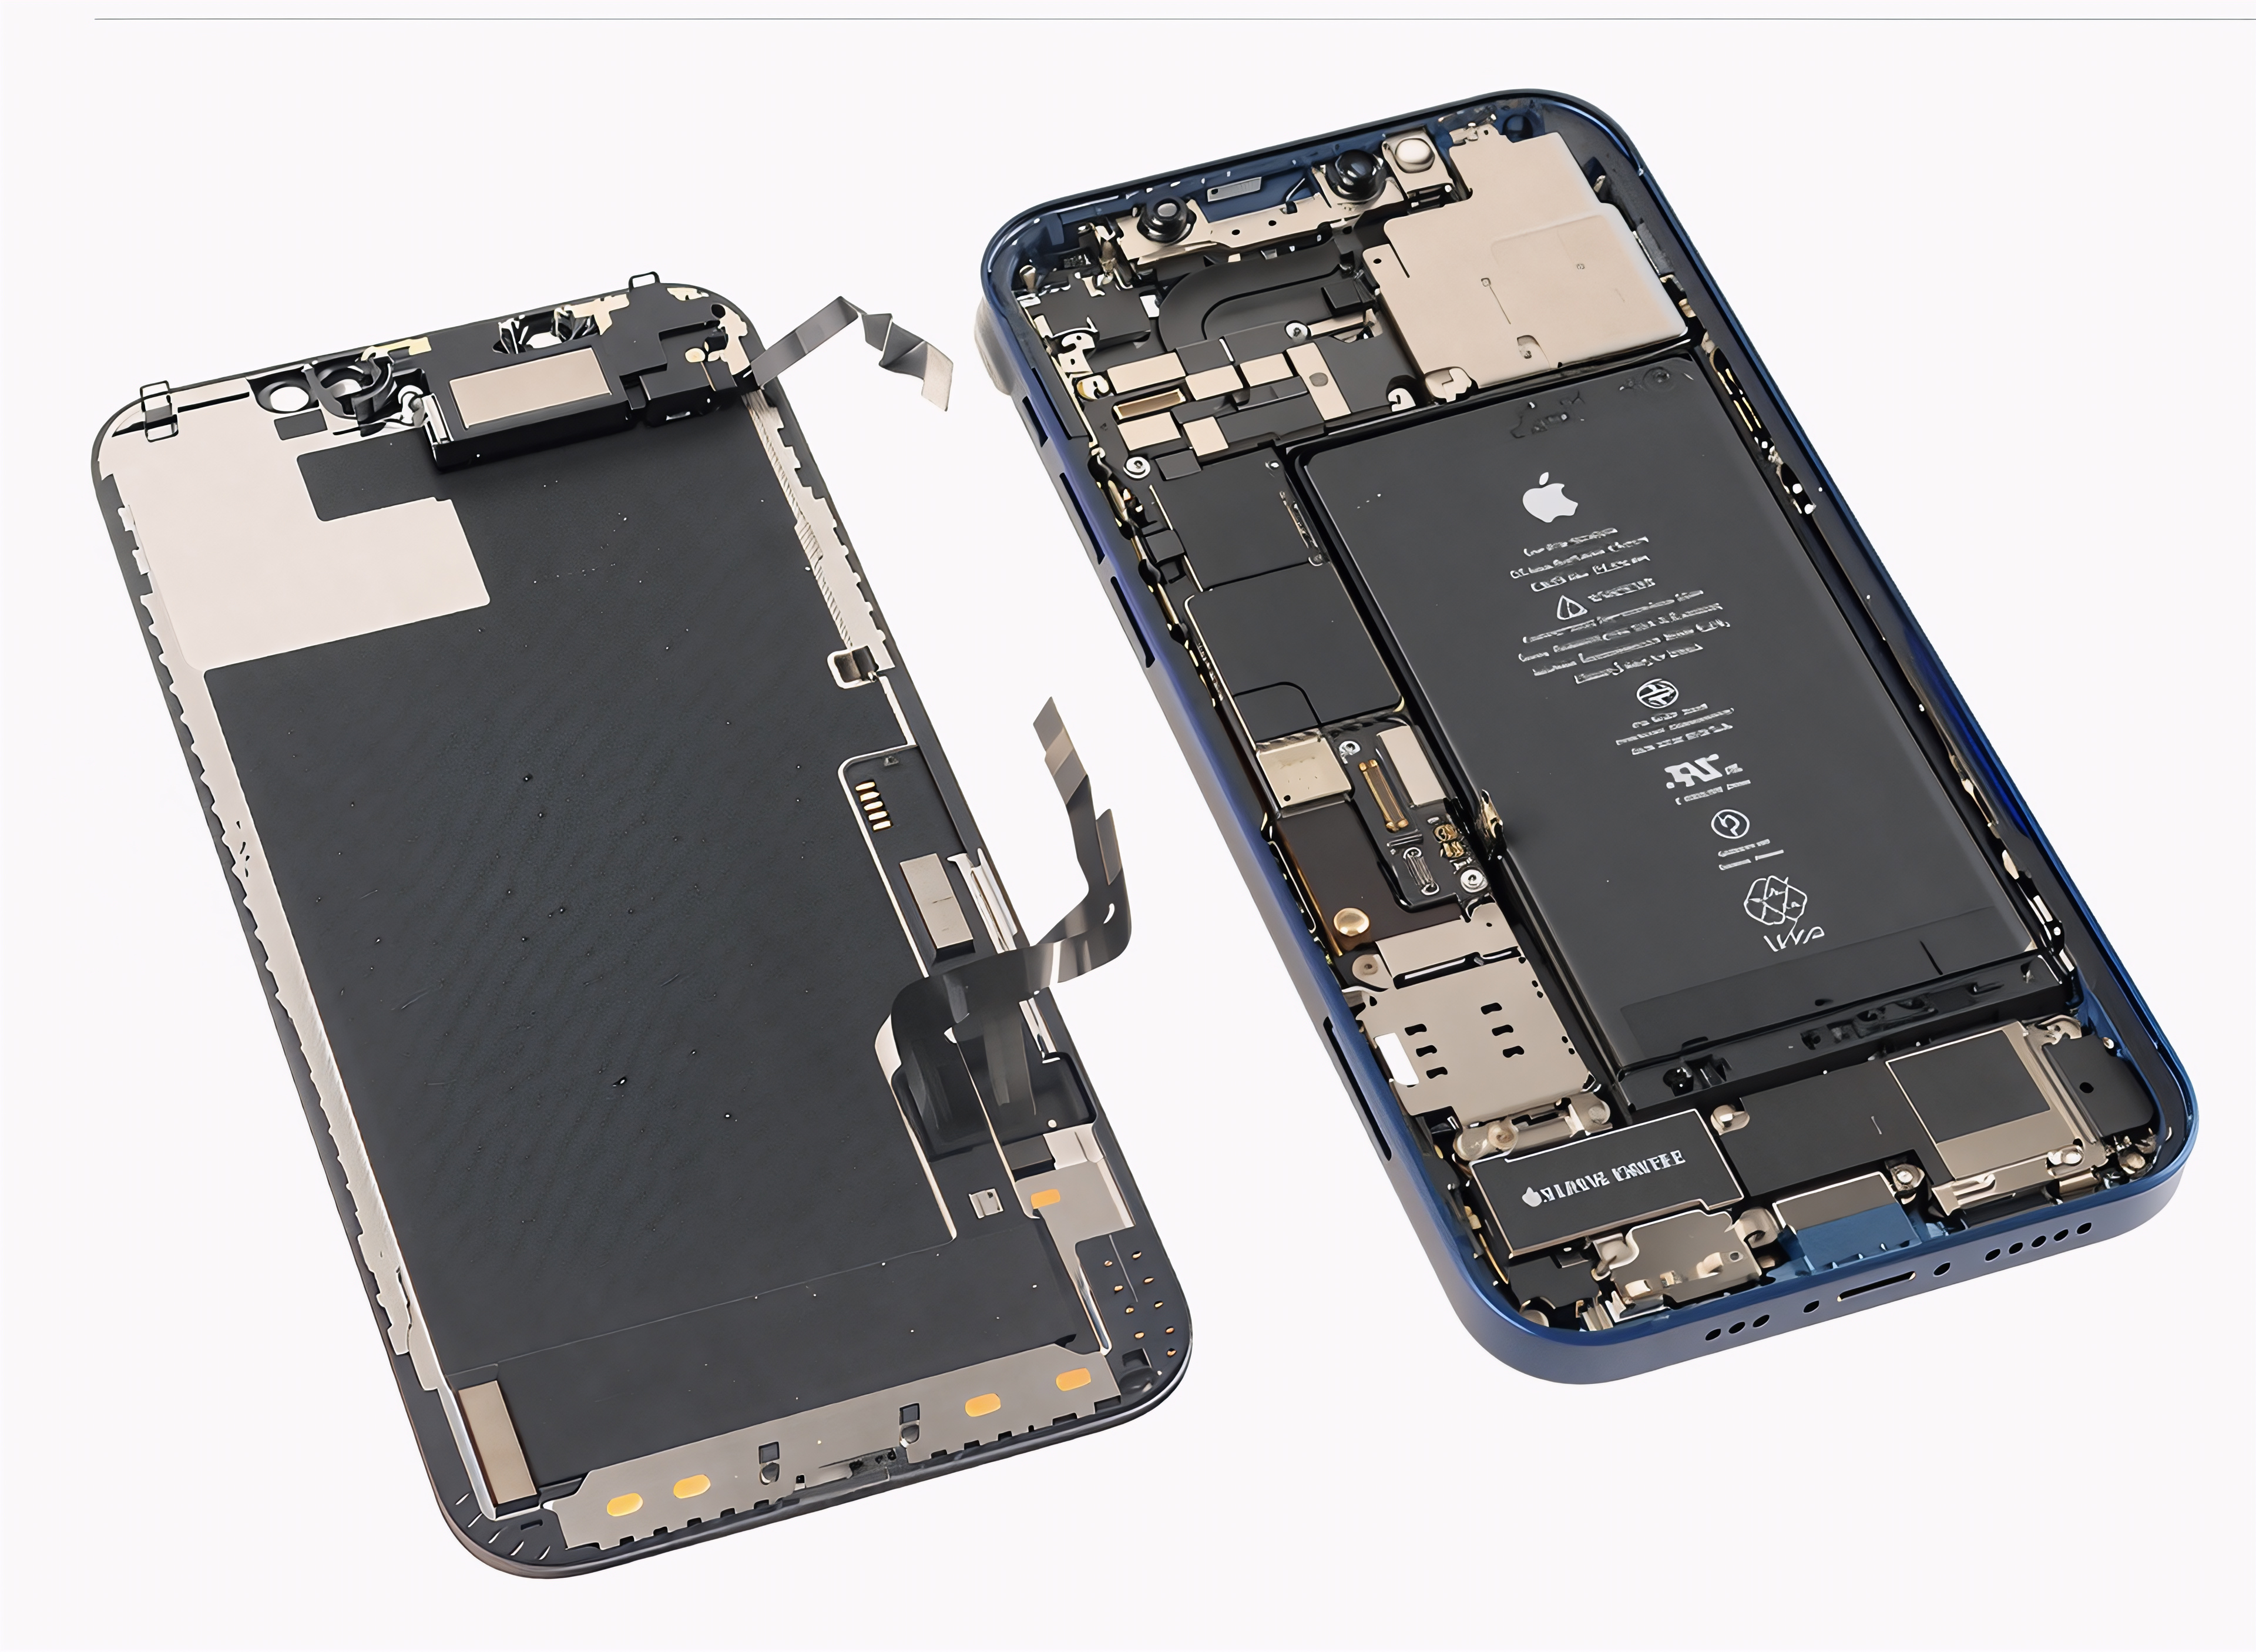
Rear window removal procedure
The Galaxy S25's rear glass is glued to the frame with a strong adhesive. For a clean opening, we use an iFixit iOpener thermal pad to gradually soften the adhesive, then thin plastic tools to detach the glass without damaging the frame.
1 Preparation:
Turn off the phone, remove the SIM tray and visually inspect the back.
Turn off the phone, remove the SIM tray and visually inspect the back.
2 Controlled heating:
Application of the iOpener in zones to soften the adhesive without overheating the components.
Application of the iOpener in zones to soften the adhesive without overheating the components.
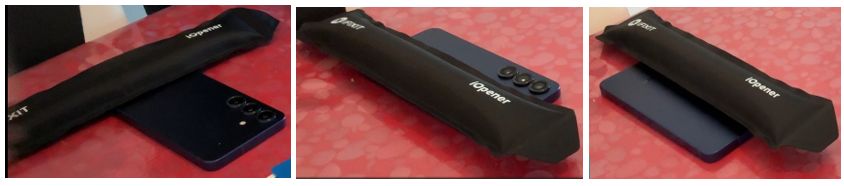
3 Clean opening
: Create a slight gap with a suction cup, then insert a plastic pick to cut the glue gradually.
: Create a slight gap with a suction cup, then insert a plastic pick to cut the glue gradually.
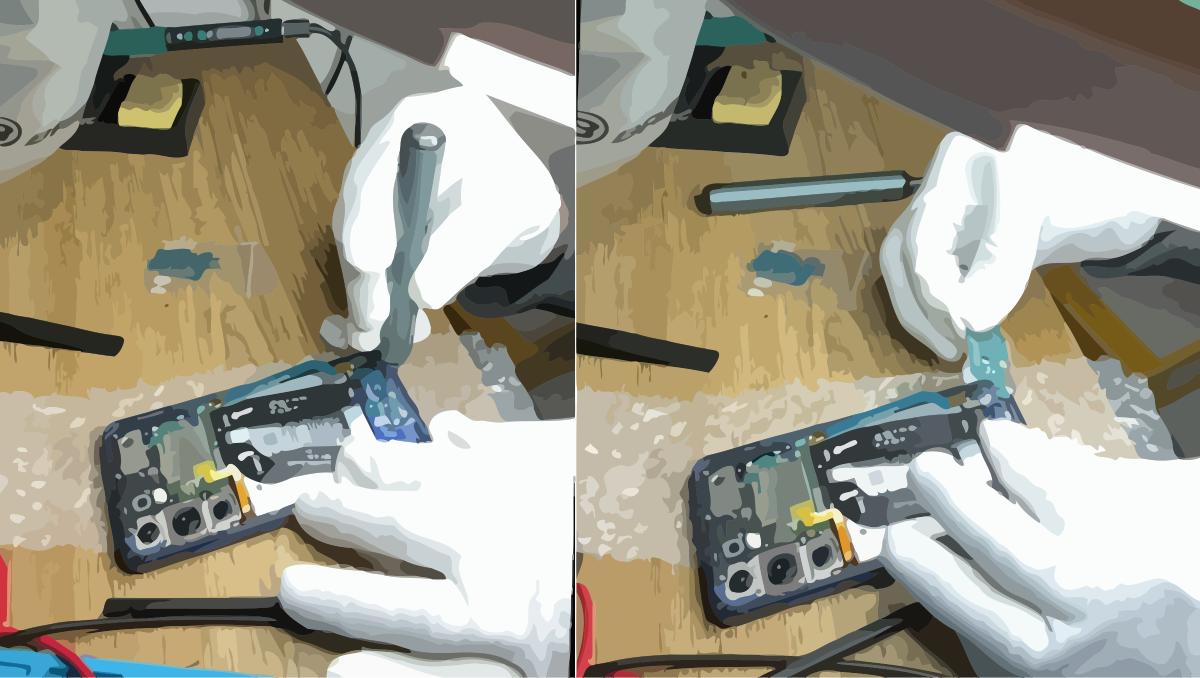
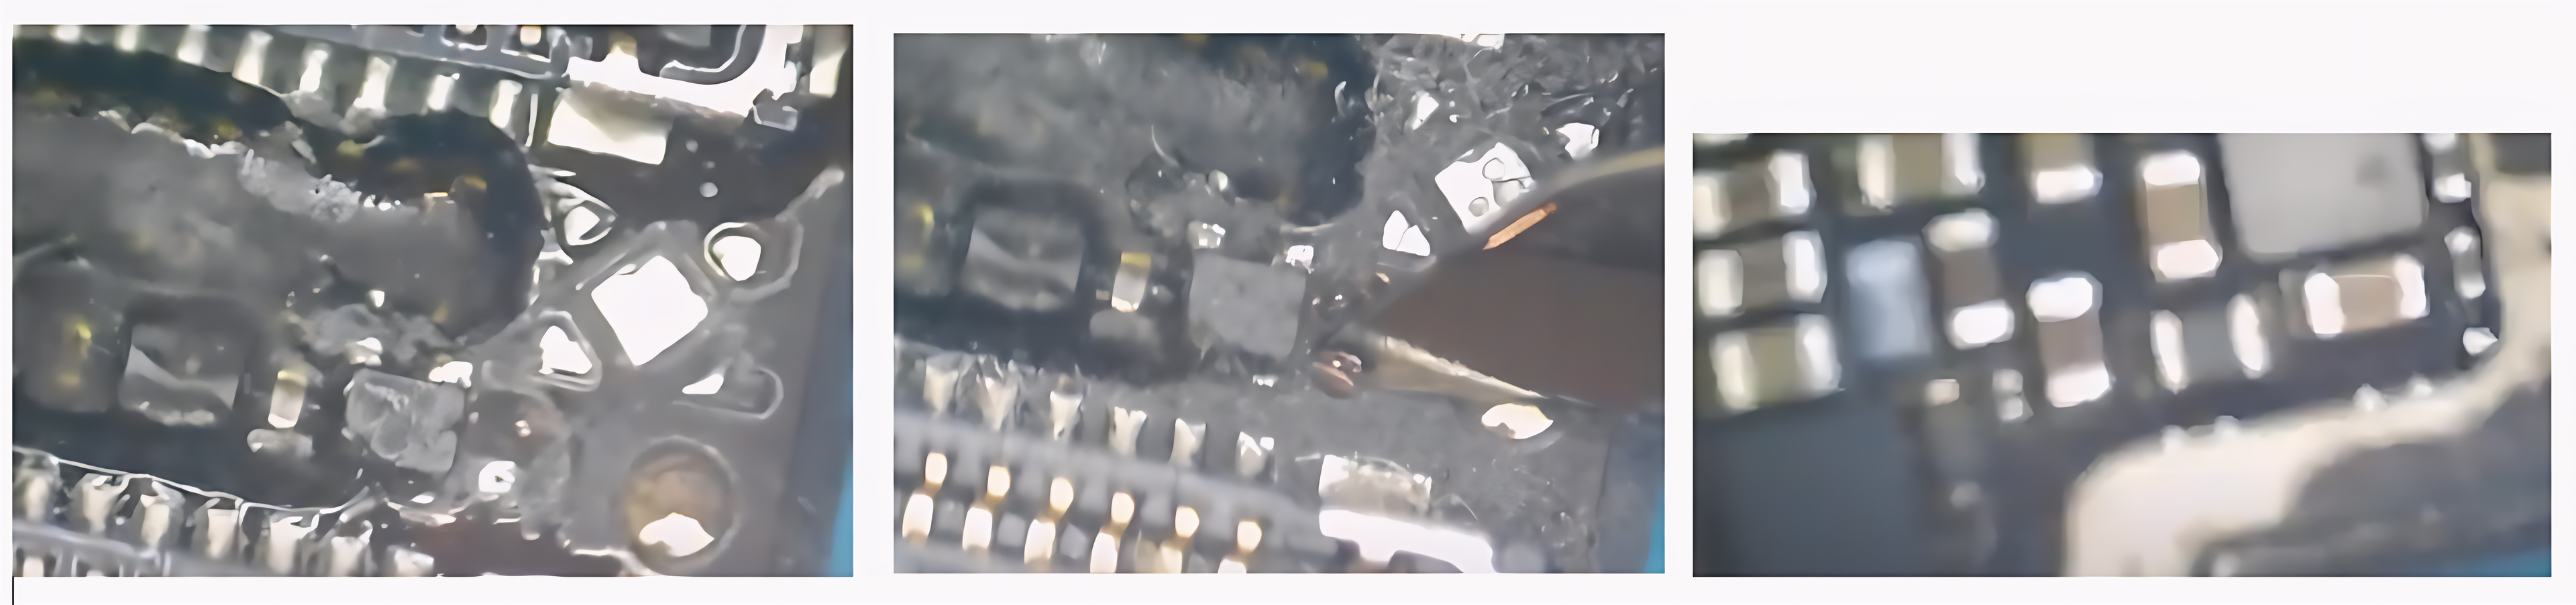
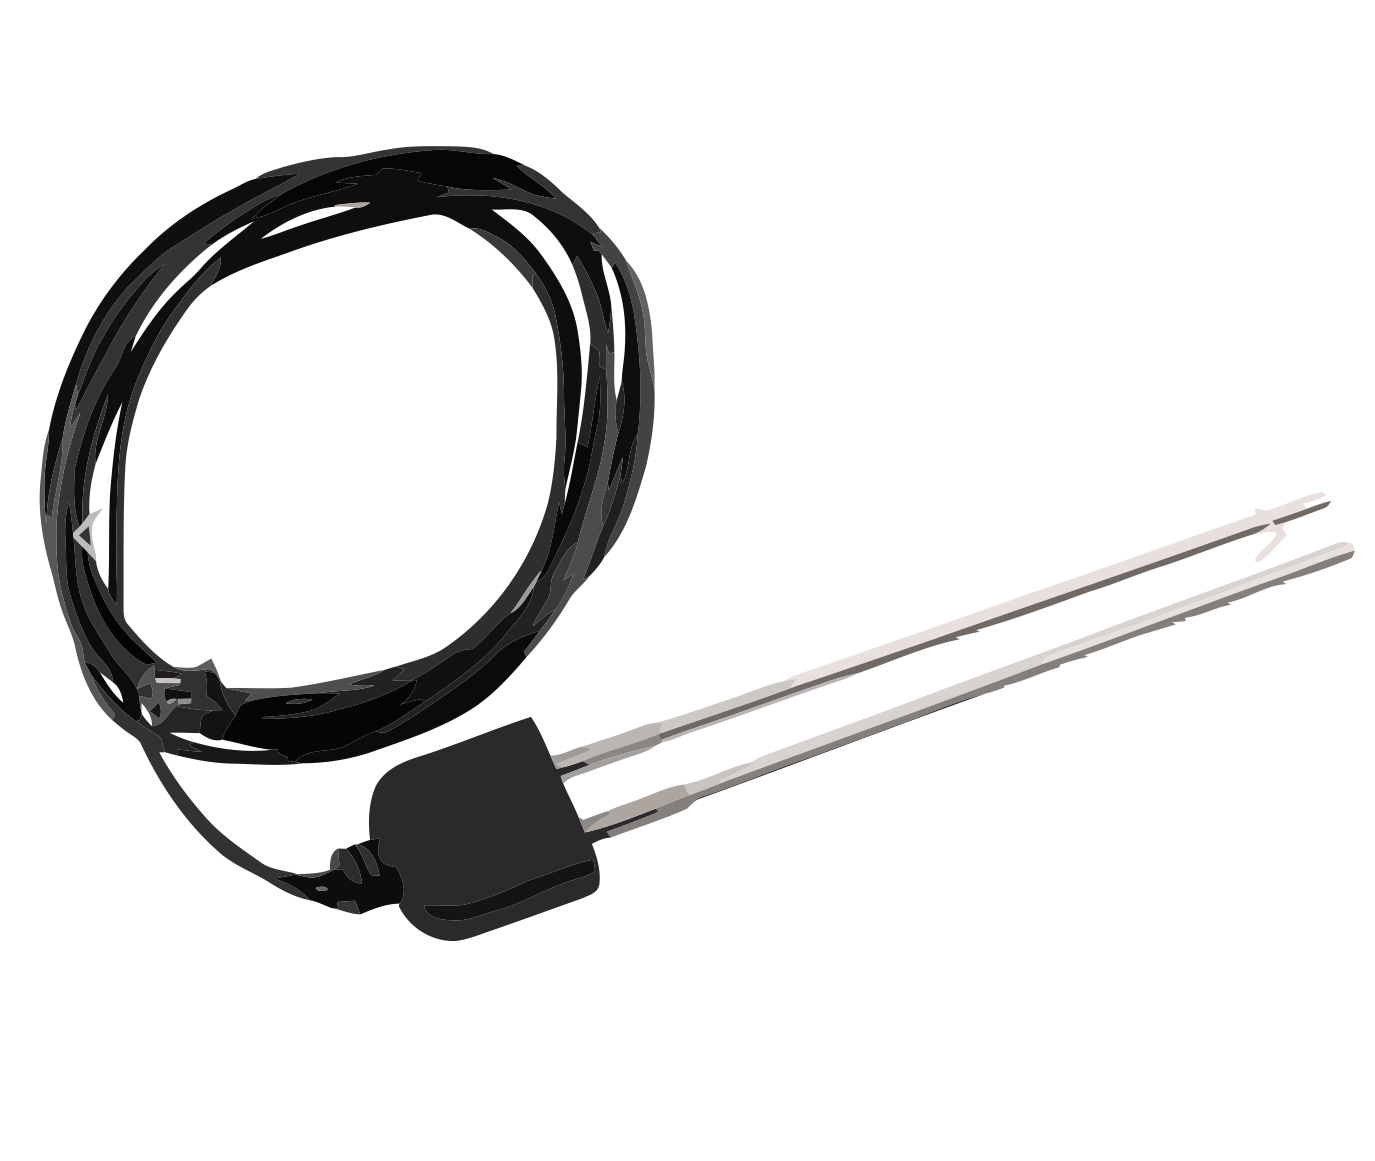
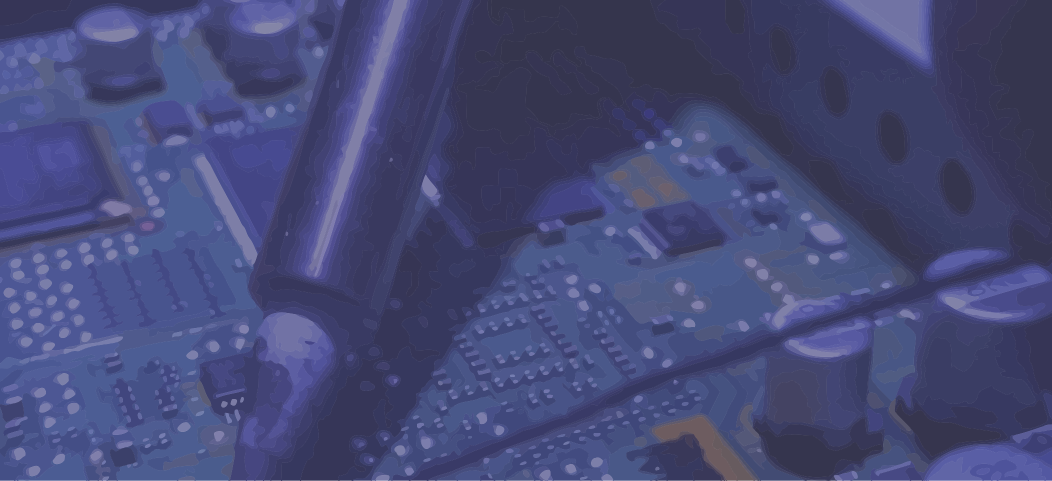
Clean and secure replacement of the charging connector with micro
After opening, we remove the internal protective covers, disconnect the battery, and access the charging board located at the bottom of the phone. The CDC module, which integrates the USB-C port and the main microphone, is then precisely replaced using original or manufacturer-certified parts.
- Methodical removal of the coverings and protective materials.
- Installation of the new charging connector including the microphone.
- Special attention is paid to the contacts, the microphone mounting and the possible sealing of the chassis.
Series of tests after intervention
Each device is validated before return with tests for charging, voice recording, video, calls, and USB connectivity. The goal is simple: to return a Galaxy S25 to the customer with clear sound, stable charging, and a lasting repair.
- USB-C port and charging test.
- Testing voice messages and video recordings.
- Audio quality control during calls and video calls.
Price list
Price upon request
The price depends on the actual condition of the phone, the level of wear on the USB-C port, the presence of any oxidation, and the type of part used. A diagnostic assessment allows for a precise quote to be provided before any work is carried out.
Recommended option: complete diagnostic including charging and audio before validating the repair.
Entrust your Galaxy S25 to LUXJIM
Replacing this component requires precision, experience, and the right equipment. At LUXJIM, we breathe new life into your appliances with durable, professional, and guaranteed solutions.
Contact details
LUXJIM – IT Solutions
Schifflange, Luxembourg
Smartphone diagnostics and repair, computer and electronics support.