
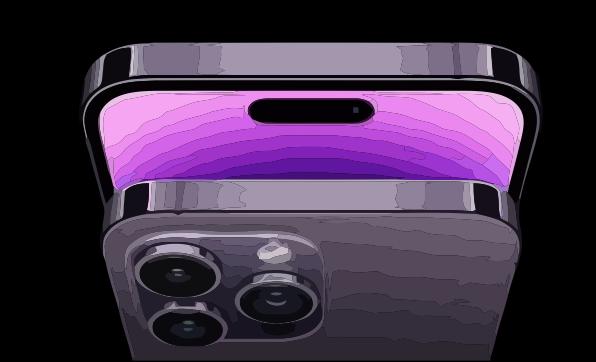

iPhone 13 Pro Max Screen Replacement
In this guide, I’ll show you step by step how to replace the screen on an iPhone 13 Pro Max, from diagnosis right through to reassembly, including the tools you’ll need, practical tips and my thoughts on just how difficult the job really is.
Diagnosis: broken or cracked screen
Before you get your screwdrivers out, you need to check that the problem is actually with the screen. On an iPhone 13 Pro Max, a broken screen usually shows the following signs:
- Visible cracks, a localised impact mark or a spider’s web pattern on the screen.
- Touch-sensitive areas that no longer respond or react erratically.
- Black screen, vertical lines, coloured spots or flickering.
- True Tone feature not working after an impact, or unstable brightness.
If the phone still turns on, notifications are coming through and you can operate it without looking (using VoiceOver or by connecting it to a computer), there’s a good chance that only the display assembly is at fault. However, if the device no longer responds at all, you’ll also need to consider having the motherboard or battery checked.

and a partially functional display.
Preparation and safety
Replacing the screen on an iPhone 13 Pro Max requires a methodical approach, patience and a few suitable tools. Before you begin, make sure you are working on a clean, well-lit surface and allow plenty of time so you don’t have to rush.
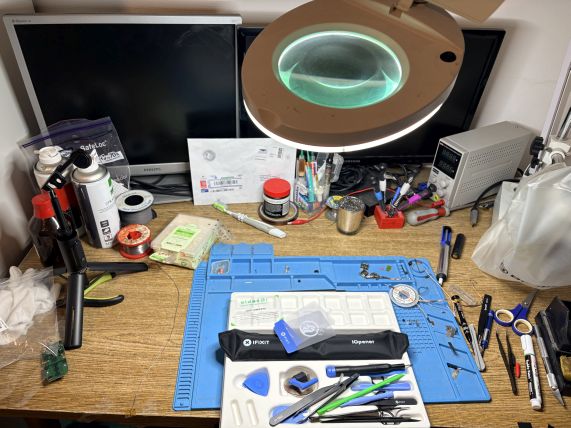
Tools required
- Pentalobe P2 screwdriver (for the bottom screws).
- Tri-point Y000 screwdriver (for the internal screws).
- Phillips PH000 screwdriver (depending on the screws in your model).
- Plastic spudgers, guitar picks and a pry tool.
- Suction cup or screen lifting tool.
- Anti-static tweezers.
- Magnetic mat or boxes for organising screws.
- iPhone 13 Pro Max-compatible screen seal adhesive.
Equipment used
- Replacement screen for iPhone 13 Pro Max (OLED + glass + integrated sensors).
- Possibly a complete repair kit (often supplied with basic tools).
- Isopropyl alcohol and a lint-free cloth for cleaning surfaces.
Safety precautions
- Switch off the iPhone completely before carrying out any work.
- If possible, discharge the battery to below 25% to minimise the risks in the event of accidental puncture.
- Work without metal rings or bracelets, and avoid static electricity.
- Never force a component: if it offers resistance, check that there isn’t a screw or clip still in place.
Disassembling the iPhone 13 Pro Max
Taking the device apart is a crucial step: this is where you can either lay the groundwork for a clean repair or cause further damage if you rush it. Take your time and follow the steps in order.
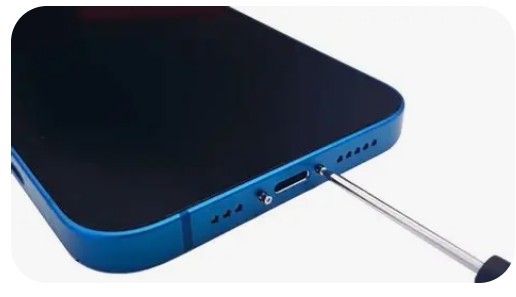
1. Removing the lower screws
Start by removing the two Pentalobe screws on either side of the Lightning port. These screws hold the screen and the chassis together.
2. Opening the screen
Place a suction cup near the bottom edge of the screen, then pull gently to create a small gap between the glass and the frame. Insert a guitar pick into the gap and run it round the edge of the phone to lift the adhesive.
On the iPhone 13 Pro Max, the screen opens like a book, usually to the left. Do not pull it too far: connection cables link the screen to the motherboard.
3. Disconnecting the battery
Once the screen is slightly open, locate the metal shield that protects the battery and screen connectors. Remove the Y000 Tri-point screws, then the shield, and disconnect the battery first. This is a golden rule: always isolate the battery before handling the flex cables.
4. Disconnecting the display flex cables
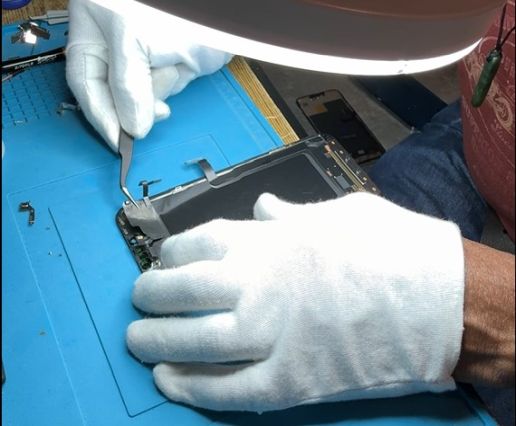
After the battery, disconnect the display flex cables (display, touchscreen, sensors). Use a plastic spudger to avoid damaging the connectors. Once all the flex cables have been removed, you can separate the display completely from the chassis.
Screen replacement procedure
Now that the old screen has been removed, it is time to prepare and install the new screen. This step requires precision and care.
1. Transferring components (if necessary)
Depending on the type of replacement screen you are using, certain components may need to be transferred from the old screen to the new one:
- Proximity and ambient light sensor module.
- Earpiece microphone and internal speaker.
- Any plastic brackets or seals.
Carefully unscrew the modules; if necessary, pry them loose using a spatula and a small amount of controlled heat (a heat gun set to a very low setting or a hairdryer held at a distance). Reposition them on the new screen, ensuring they are correctly oriented and aligned.
2. Fitting the new screen
Before permanently securing it in place, it is advisable to carry out a test fit:
- Reconnect the flex cables from the new screen to the motherboard.
- Reconnect the battery.
- Switch on the iPhone and check the display, touchscreen, auto-brightness and True Tone.
If everything is working correctly, switch the device off again and proceed to apply the new screen seal.
3. Fitting the screen seal
Remove any residue from the old seal on the chassis using a spatula and a little isopropyl alcohol. Apply the new seal, following the contour of the chassis, without stretching or twisting it. This seal helps to protect the device from dust and moisture.
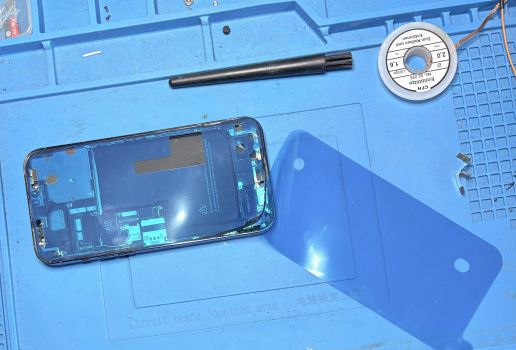
has been reassembled.
Reassembly and final testing
Once the new screen has been tested and the seal installed, all that remains is to properly close the device and confirm that everything works as expected.
1. Closing the screen
Fold the screen like a book, carefully aligning the top edge with the frame, then gently press the edges together to ensure the adhesive bonds. Make sure the screen is flush and there are no gaps between the glass and the frame.
2. Reinstalling the Pentalobe screws
Replace the two Pentalobe screws at the bottom of the iPhone 13 Pro Max. Don't overtighten them: a firm but reasonable tightening is enough to hold the screen in place.
3. Final Tests
- Check the display across the entire surface (no lines, no spots).
- Tests touch, gestures, keyboard and areas near the edges.
- Tests the earpiece speaker, microphone, front camera and sensors.
- Controls automatic brightness and True Tone.
- Make sure that Face ID is still working (if the module hasn't been damaged).
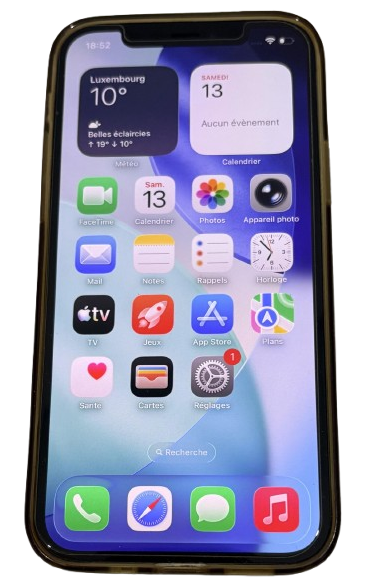
brand new screen, ready to go.
Conclusion: difficulties, advice and opinions
Replacing an iPhone 13 Pro Max screen isn't the easiest task, especially for a beginner. It's an intermediate to advanced difficulty : you need to be comfortable working with small components, fragile ribbon cables, and tiny screws, and be willing to work slowly and methodically.
My opinion on the difficulty
- If you have opened smartphones before, the operation remains accessible with a good tutorial and the right tools.
- If this is your first repair, allow yourself plenty of time, read the guide several times and don't hesitate to watch additional videos.
- The biggest risk is damaging a ribbon cable or sensor module, which can render Face ID unusable.
Practical advice
- Organize the screws by area on a magnetic mat or in small labeled boxes.
- Don't mix up the screws: a screw that's too long in the wrong place can pierce the motherboard.
- Always test the new screen before permanently closing the device.
- If you don't feel comfortable doing it yourself, it's better to leave the repair to a professional rather than risk losing Face ID or damaging the motherboard.
In short, replacing the screen on an iPhone 13 Pro Max is doable at home with patience, a good tool kit, and a quality screen. If you enjoy tinkering with hardware and want to extend the life of your device, it's a very satisfying repair once successful.

0 Comments